The Triangle
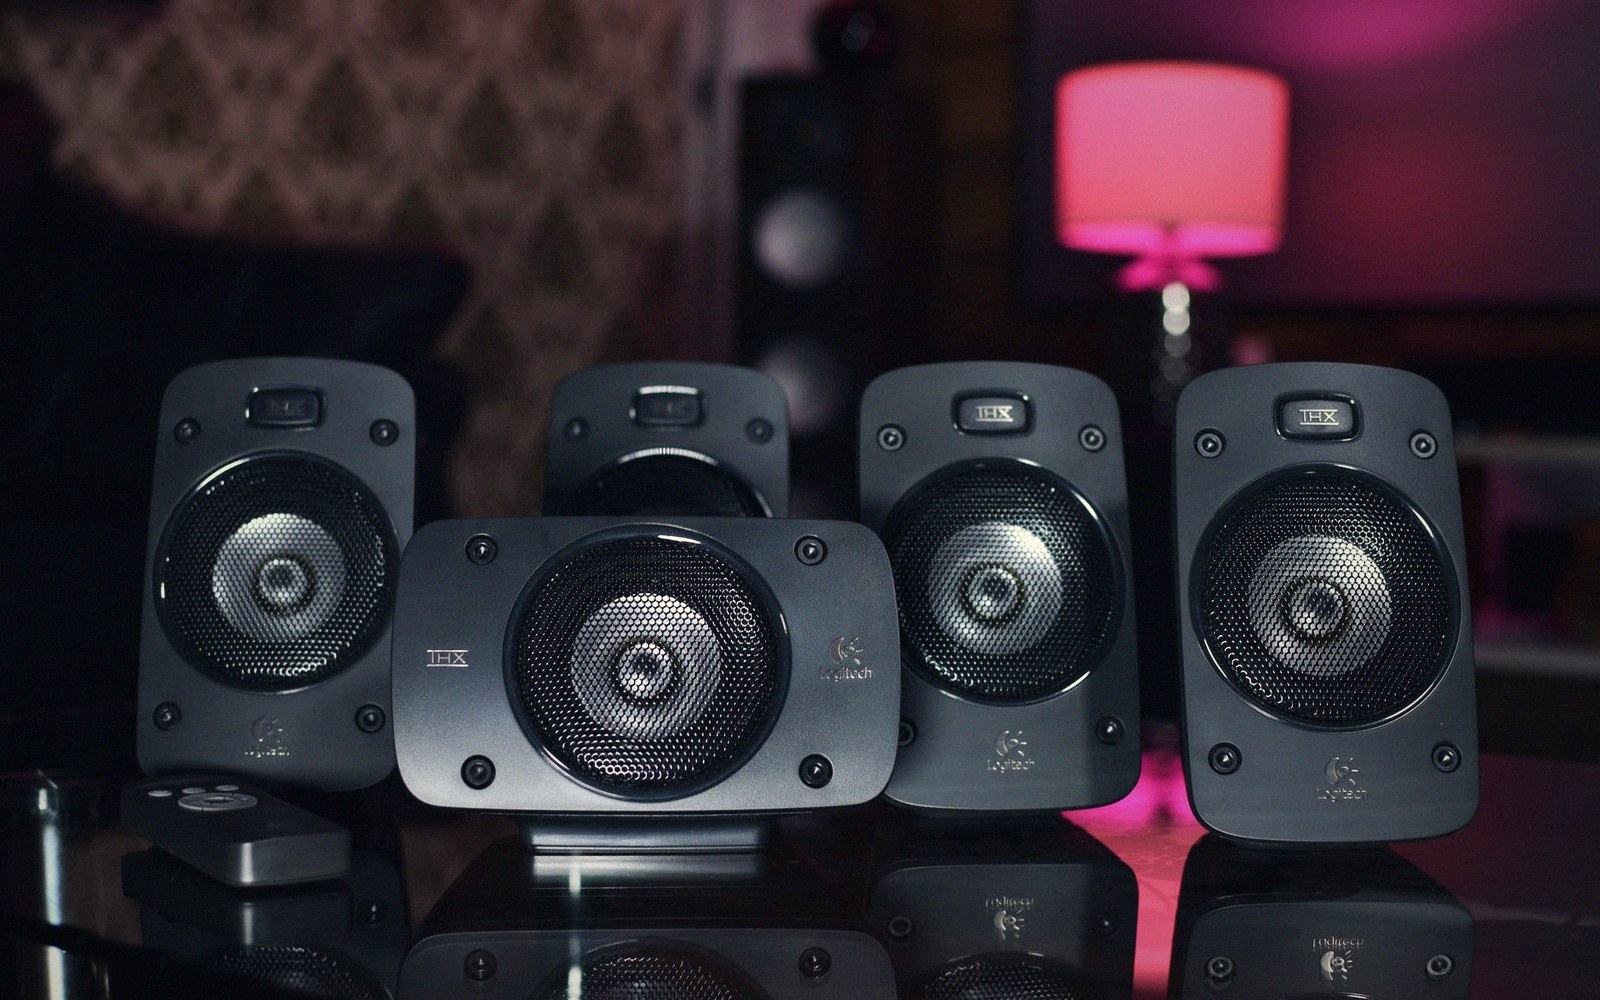
Fig. 01 · Two speakers and a seat make a triangle, and the angles do the work. · Photo: Avinash Kumar / Pexels
Two speakers and a seat form a triangle. Get the geometry right and the electronics become secondary.
- The trade-off
- A wide, sociable layout against an image you can locate.
- Which way to spend
- Spend an afternoon with a tape measure.
Why geometry comes first
Stereo works by tricking the brain into localising sound that is not actually there. A phantom centre image — a vocalist planted in mid-air between two speakers — exists only when both speakers reach the listening seat at equal level and equal time.
Shift the seat a foot to the left and the image collapses toward the nearer cabinet. No amplifier corrects for that; no cable upgrade fixes it. The triangle is the foundation, and everything else sits on top of it.
The classical starting point is an equilateral triangle: the two speakers and the seat each separated by the same distance, with the speakers toed in so their axes converge at or just behind the listening position.
In a purpose-built room this is the geometry you aim to establish before you touch a single control. The equilateral arrangement places the seat at sixty degrees of included angle — thirty degrees either side of the centre line — which is where binaural psychoacoustics puts the broadest, most stable stereo image.
Wider than that and the soundstage develops a hole in the middle; narrower and it collapses into a mono blob.
2
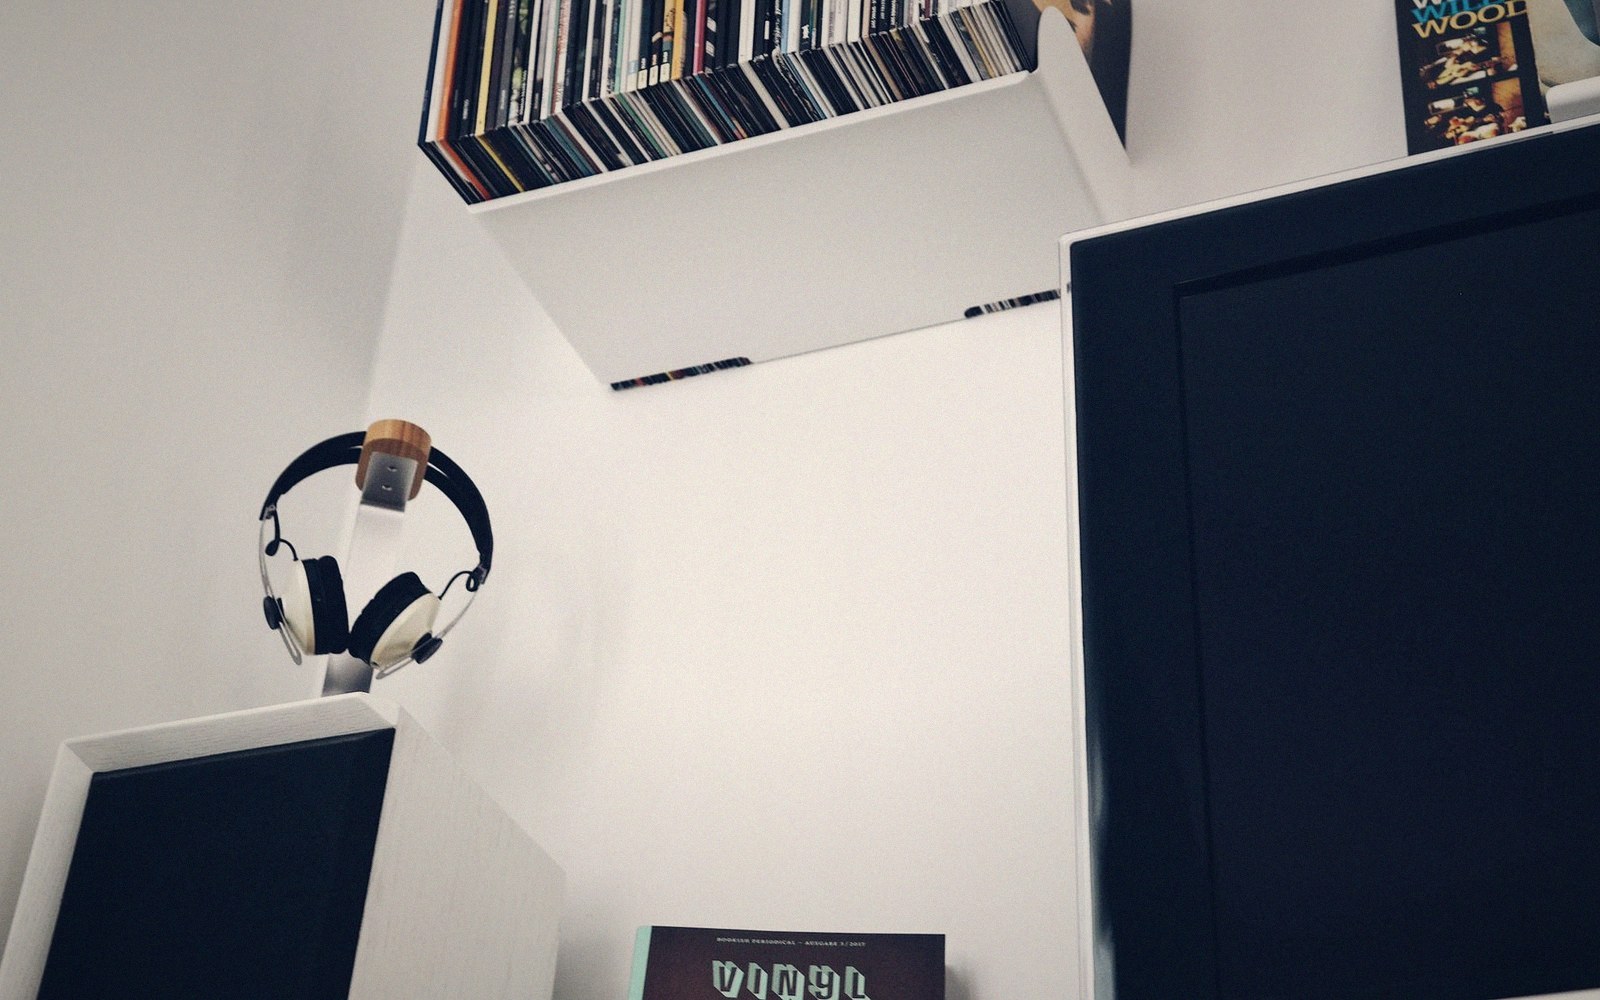
Toe-in is set from the seat with a tape, not judged from behind the cabinet.
Photo: Jens Mahnke / Pexels
The numbers, and when to bend them
The equilateral rule is not absolute. Rooms impose constraints, and the triangle can flex within limits. Compress the angle — speakers closer together relative to the listening distance — and the image narrows but gains focus.
Widen it and the stage broadens at the cost of that phantom centre. Most rooms end up somewhere between fifty and seventy degrees of included angle, and anything in that band can work well if the geometry is symmetrical.
Symmetry is the non-negotiable part: both speakers at identical distances from the seat, equidistant from the side walls, nothing obstructing one path that does not equally obstruct the other.
Distance from the front wall enters the triangle indirectly. Push the speakers close to the wall behind them and early reflections from that surface arrive at the seat only milliseconds after the direct sound — close enough in time to smear transients and comb-filter the frequency response.
The practical rule is to pull them out until that reflection is at least a metre of path-length away from the direct signal. That usually means the speaker is somewhere between sixty centimetres and a metre from the wall.
The listening seat has its own boundary to respect: park it against the rear wall and you sit inside a bass build-up driven by the room's pressure zone. A metre of clearance behind the seat is the working minimum.
Toe-in is the third variable. Pointing the speakers straight forward and relying on the off-axis response to fill the room is one valid approach — it widens the sweet spot at the expense of image precision.
Toeing in the cabinets so the axes cross at the seat sharpens focus and usually reduces side-wall first reflections, because the speaker's output is directed away from those surfaces. The trade-off is a sweet spot that narrows: move two feet sideways and the image shifts noticeably. In a dedicated listening or screening room, the narrower sweet spot is generally the right bargain.
Lifted out of the flow — Placement
The geometry in numbers
Setting it in practice
Tape the floor before you move furniture. Mark the intended seat position, measure equal distances to both speaker positions, check that both speaker-to-seat distances match to within a centimetre, and verify that both speakers stand the same distance from their respective side walls.
Then listen to a familiar mono source — a single voice, centred — and adjust toe-in until the image locks to a point between the two cabinets with no pull to either side. That lock is not a preference; it is confirmation that the geometry is right.
The signal chain matters. Calibration matters. But a technically excellent system hung on a broken triangle produces a technically excellent mess. Build the geometry first.
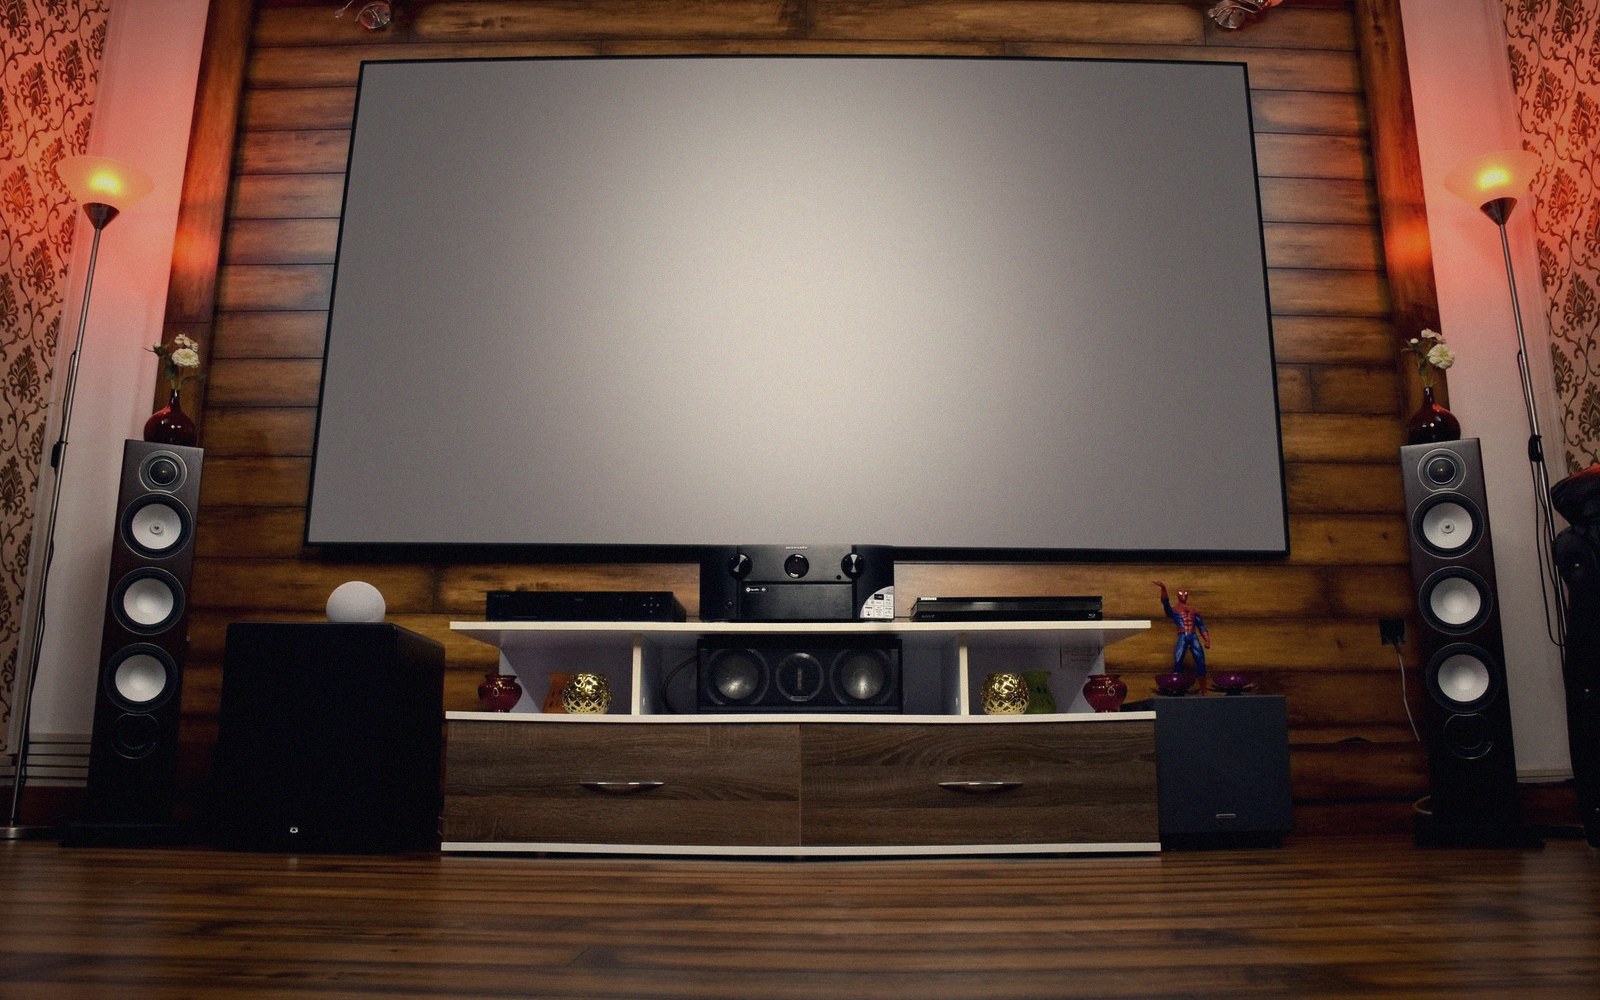
A corner loads the room hardest — useful for level, unhelpful for evenness.
Photo: Avinash Kumar / Pexels
That usually means the speaker is somewhere between sixty centimetres and a metre from the wall.
Lifted out of the flow — Placement